Open Eclipse IDE
Follow the below steps to create a project
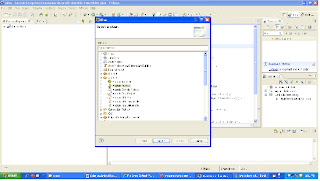
1. New> Other > Android> Android Project
2. Enter the below details
Project name:
The name of the folder where your project will be created.
Click Next
Build Target:
You want to choose as low of a version as possible unless you absolutely need to use something in a later API.
Click Next
Application name:
This is the human-readable title for your application — the name that will appear on the Android device.
Package name:
This is the package namespace (following the same
rules as for packages in the Java programming language) where all your source code will reside.
Create Activity:
This is the name of the first Activity that will be generated in the src folder.
Min SDK Version:
This is an integer that indicates the minimum API Level required to properly run your application:
Click Finish
3.Select project from Project Explorer> Right Click> Go to Build path > Configure Build Path> Add External JARs> Select jar files in extracted selenium web driver java source.
4. Select project from Project Explorer> Right Click> Go to Build path > Configure Build Path>libraries > Add Library>select User Library>Next>Click User Libraries> Click on New>Enter name of user library >OK>Click Add Jars>Select all jar files in libs folder of extracted selenium web driver java source> Click OK
Click on AndroidScriptActivity.java > Editor will open> Write the below script in Editor
import junit.framework.TestCase;
import org.openqa.selenium.By;
import org.openqa.selenium.WebElement;
import org.openqa.selenium.android.AndroidDriver;
public class AndroidScriptActivity extends TestCase {
public void testProjectActivity() throws Exception{
AndroidDriver driver=new AndroidDriver();
driver.get("http://google.co.in");
WebElement element=driver.findElement(By.name("q"));
element.sendKeys("selenium");
element.submit();
System.out.println("The page Title is "+driver.getTitle());
}

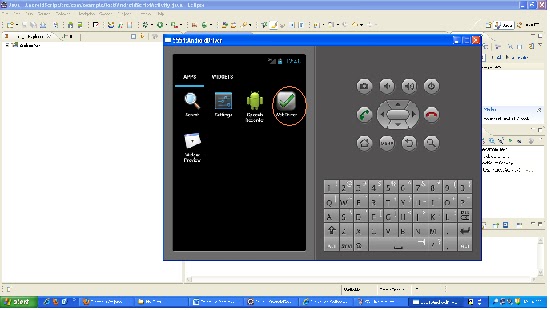
 Note: Don't forget to Run android webdriver in Emulator


